How to embed a Flipbook on Shopify blog?
Do you want to beautify or customize your site created with Shopify by adding a “browsable catalog” (called Flipbook) in the blog? The flipbook is the best way to show a product catalog in an interactive and dynamic way. With it you can grab the customer’s attention and maximize purchase conversions.
First of all you have to create your Flipbook. How to create a Flipbook from PDF?
You can use MyFlipbook software to convert your PDF into flipbook. It will create a single html file that you can host on your hosting or upload on MyFlipbook server. Alternatevely you can also use a free online flipbook maker service like FlipbookPDF.net. Read below to know how it works.
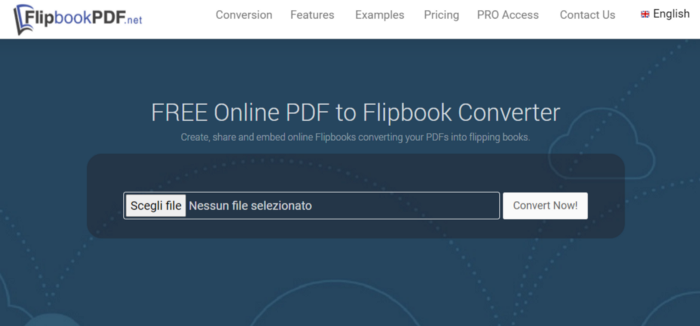
It’s very simple! Access to FlipbookPDF.net page and select the PDF to convert to Flipbook and click on CONVERT NOW button.
After the conversion you will see a new page with two url. The first is the URL of your flipbook and the second one is the ADMIN link of the flipbook where you can customized your flipbook using some advanced options (you can add your logo, background, change title, and so on.).
In this admin link page you will see also a button: EMBEDDED CODE.
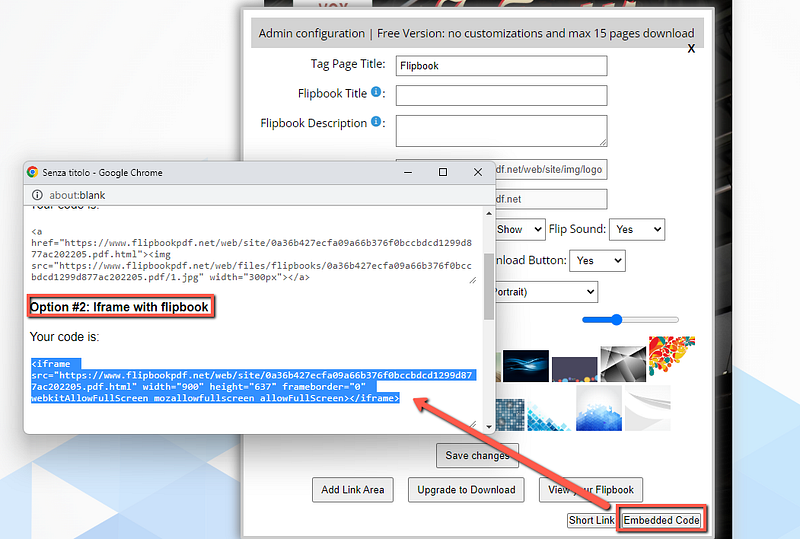
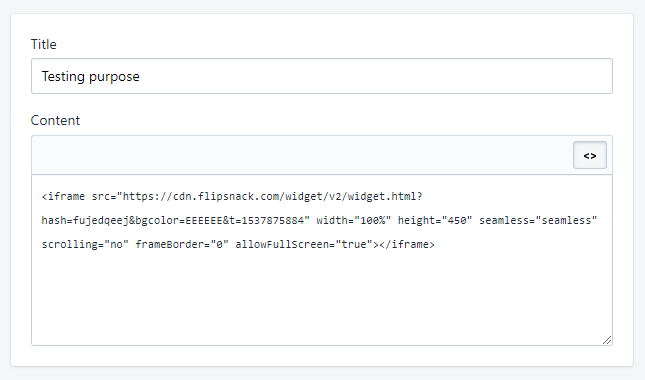
Click on Embedded Code button and then copy the code (from OPTION #2) as shown in the figure above. This code will be used to add the Flipbook on your Shopify store.
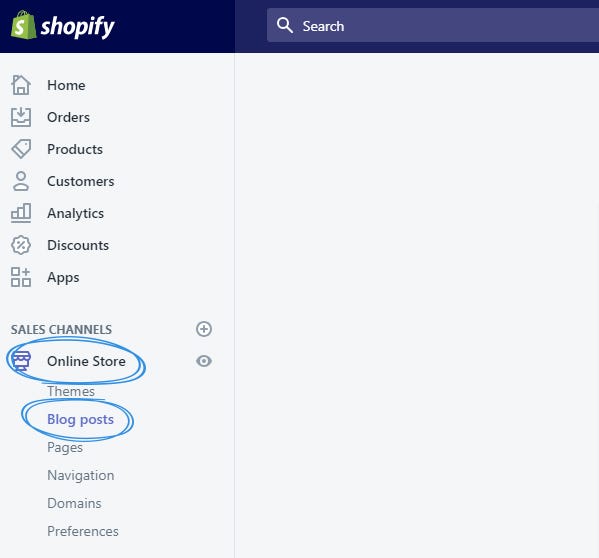
Now, go to your Shopify admin, click Online Store -> Blog posts.
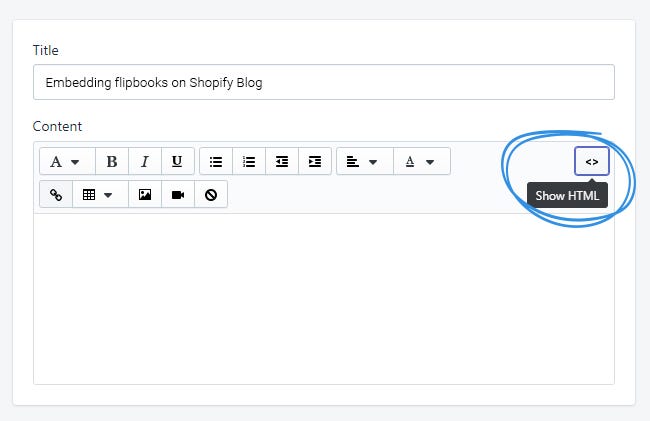
From the Blog Posts page, click the title of a blog post you want to edit or click Add blog post to create a new one.
Make sure to click the Show HTML button in the rich text editor.
 ù
ùPaste your embed code into the main text field and Save.
Well done! You have successfully embedded your flipbook on Shopify Blog